Content Pack Guide
I'm pretty sure that others do it differently than I do, everyone has their own way, but I am going to be teaching how I create mine and some tips along the way.
Unfortunately, I've never owned a Mac, so if you have a Mac, I don't know what to tell you. Windows 7 was used particularly for this guide.First things first, you're going to need to download Panda3D for these certain commands to work. You need these commands to compile/compress and decompress phase files.
The commands you need to save and know:
decompress command
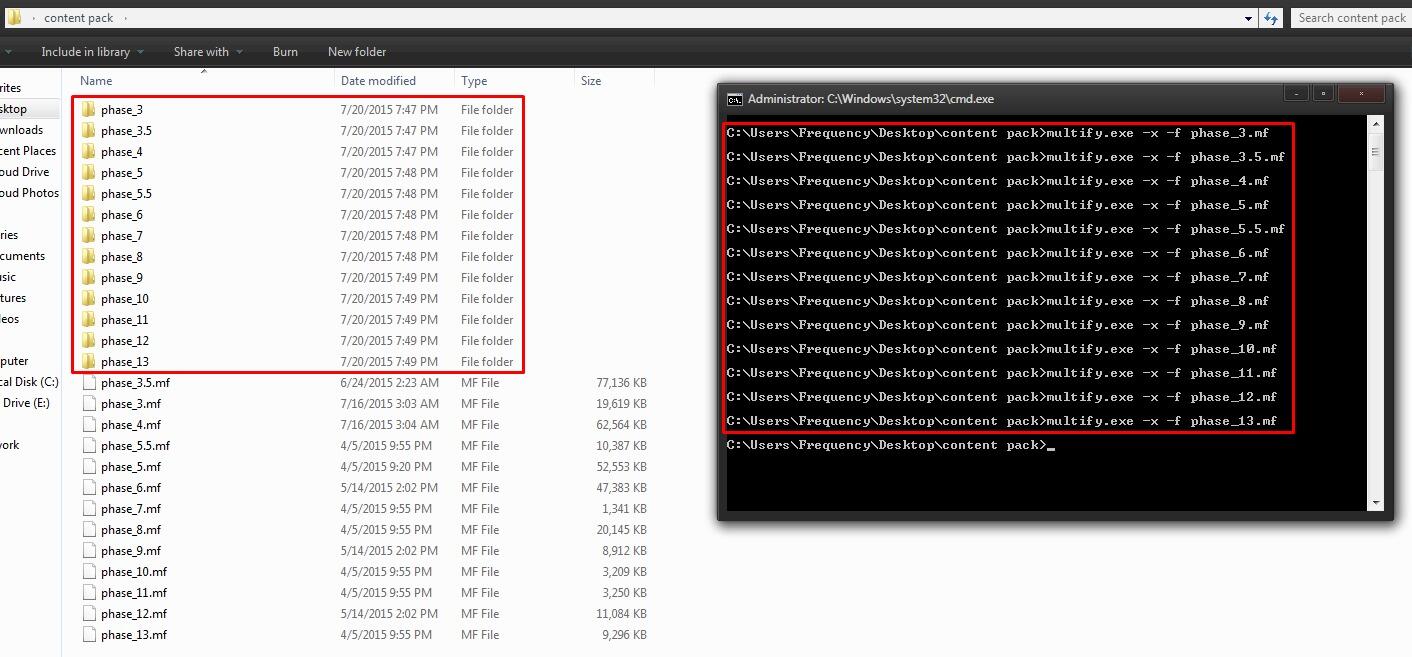
multify.exe -x -f phase_#.mfcompress commands
multify.exe -c -f phase_3.mf phase_3
multify.exe -c -f phase_3.5.mf phase_3.5
multify.exe -c -f phase_4.mf phase_4
multify.exe -c -f phase_5.mf phase_5
multify.exe -c -f phase_5.5.mf phase_5.5
multify.exe -c -f phase_6.mf phase_6
multify.exe -c -f phase_7.mf phase_7
multify.exe -c -f phase_8.mf phase_8
multify.exe -c -f phase_9.mf phase_9
multify.exe -c -f phase_10.mf phase_10
multify.exe -c -f phase_11.mf phase_11
multify.exe -c -f phase_12.mf phase_12
multify.exe -c -f phase_13.mf phase_13compress all command (recommended)
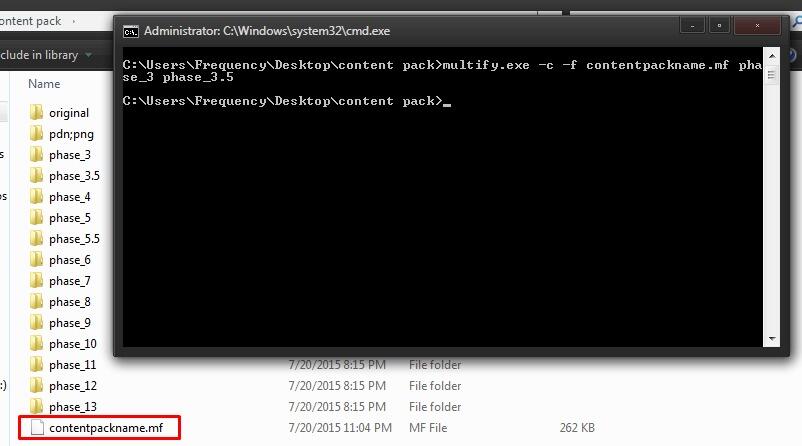
multify.exe -c -f contentpackname.mf phase_3 phase_3.5 phase_4 phase_5 phase_5.5 phase_6 phase_7 phase_8 phase_9 phase_10 phase_11 phase_12 phase_13NOTE: There are additional .mf files, such as: winter.mf, winter_decorations.mf, winter_music.mf, winter_snow.mf
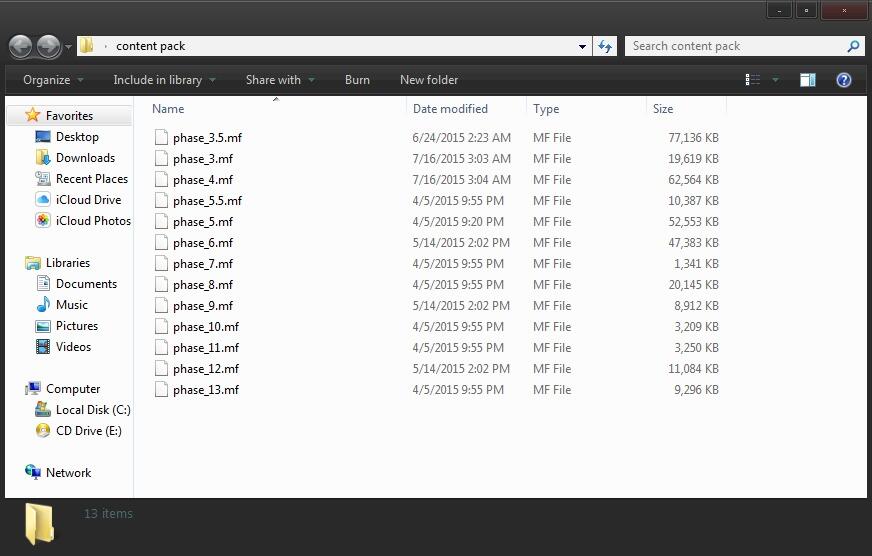
Get the phase files from recently updated TTR files and place them into a new folder.
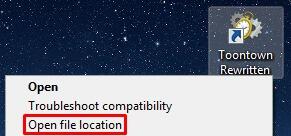

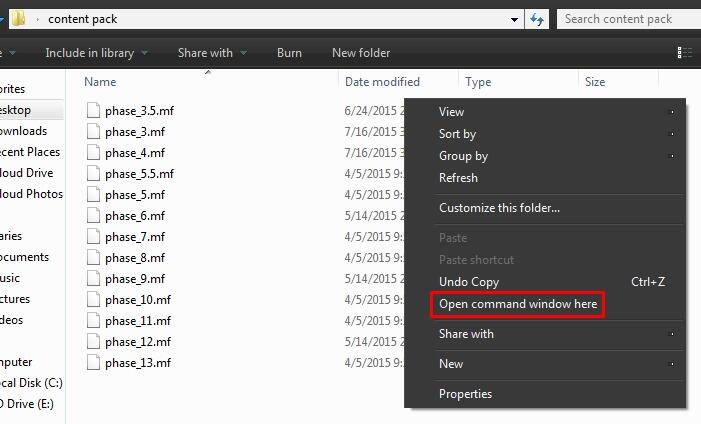
How to use the commands
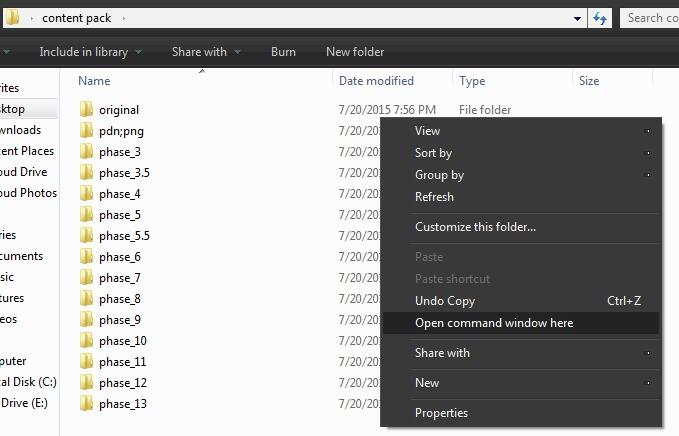
Shift+RIGHT CLICK in the new folder of your phase files
It should give you the option to open a new command window in your folder location and you copy and paste the commands there to decompress the .mf files into folders to access everything that visually makes Toontown.
Organization
Usually what I do after all this is I make a new folder where the phase files are and call it "original" and move everything in there.
This folder will be the place for the original texture and music files, hence why I name the folder that and then I copy the folder phase files back in the content pack folder.
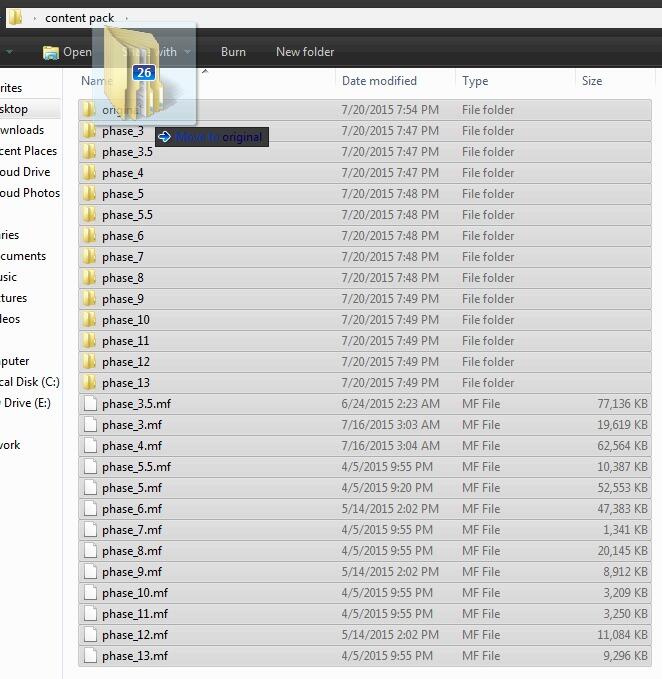
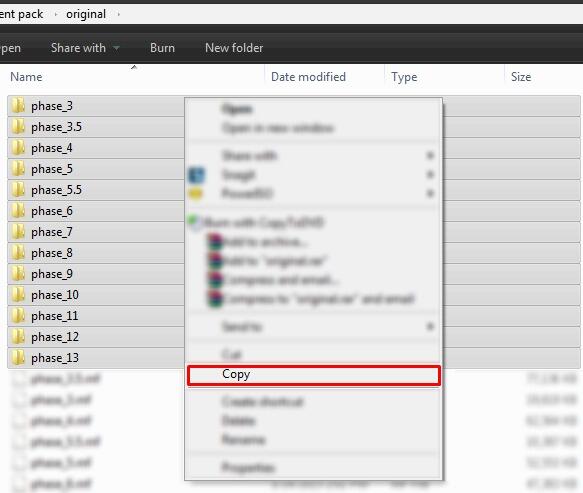

...so you should have 2 sets of phase folders now.
The reason why I do this is because now, in the phase folders in the main folder are gonna be empty.
You want to remove every dna, models, paths, and etc folders because those are unnecessory for content packs and just make the download longer when people want to download it.
KEEP AUDIO AND MAPS FOLDERS... unless you're just working on textures, then remove audio if you want (or vice versa with music).
You also want to remove all audio and image files in the audio and maps folders, but don't remove those folders, just the files in them.
Personally, I don't mess with dial or sfx, so I just delete those folders as well in audio. If the audio folder just has dial and/or sfx folder, then I remove audio entirely, but this part is up to you since it's your content pack.
A quick way to delete all the images is to press CTRL+A then DEL in the folder.
Made a mistake? CTRL+Z restores your files.If you've done this, your audio, maps, and bgm folders should be completely empty.
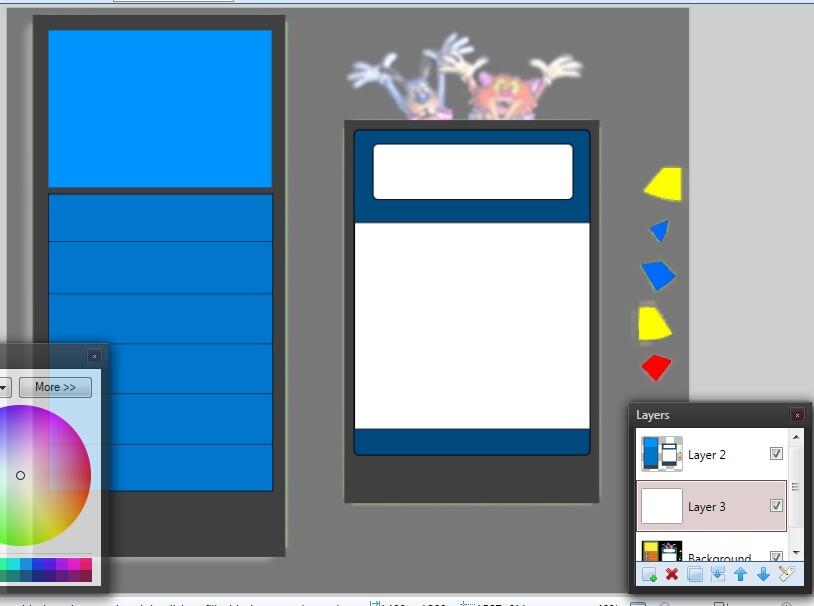
A final folder that I add in the content pack folder is a pdn;png folder; you can call it whatever you want.
The reason for this folder is for the images I edit that need .rgb files converted.
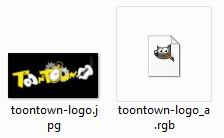
Here's an example of images from that folder from another content pack I was working on:

.pdn files come from the program paint.net exclusively. You don't have to use paint.net for your content packs though, that's just what I use. The editing program is up to you.
Programs
Now that we have everything set up, I'm going to explain how I do things, but first, I'm going to list the programs I use when making content packs.paint.net - editing .jpg, .png, and .pdn files
GIMP 2 - converting image files → .rgb / editing .rgb
Sony Vegas Pro 13 - converting audio files → .oggAs I said before, the editing program is up to you, but as for converting, I can't really say much since I don't know another way. Yeah, there's converters online probably, but that is honestly not the best way considering during the converting process, something messes up the file.
With images that don't have a .rgb file with it, you don't need to worry about converting. To tell if you need to work on the .rgb file as well, it should have a similar name and should be next to the image you want to edit. Here's an example:
Now here's a fun tip:
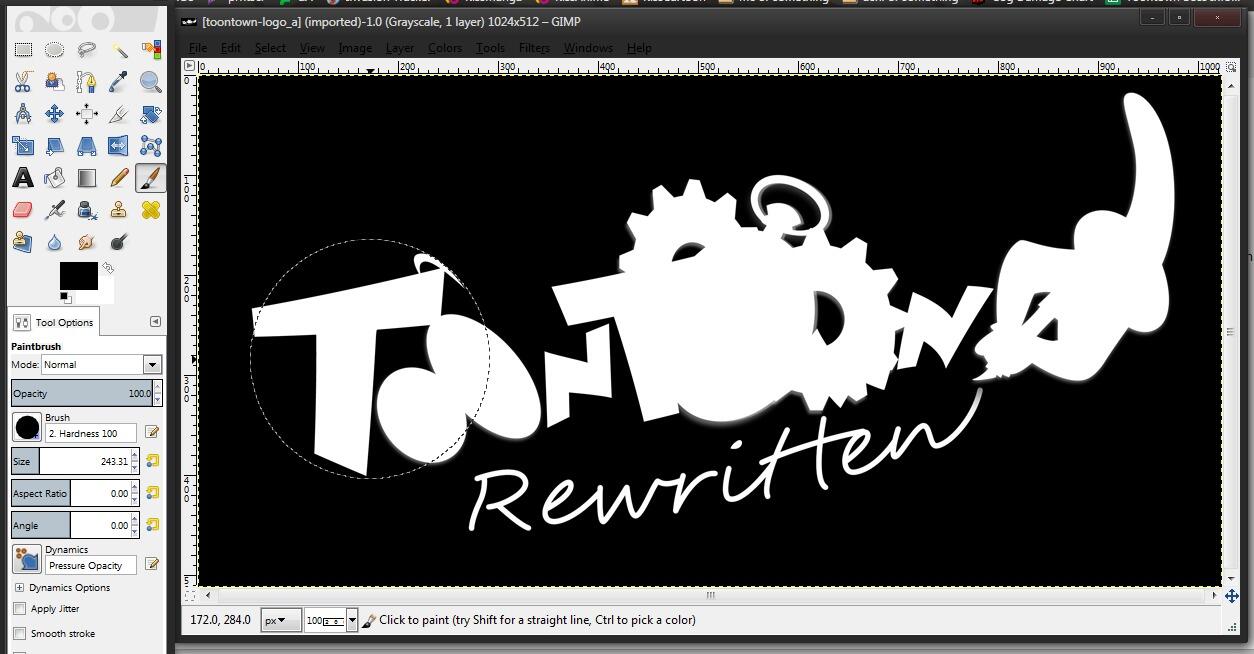
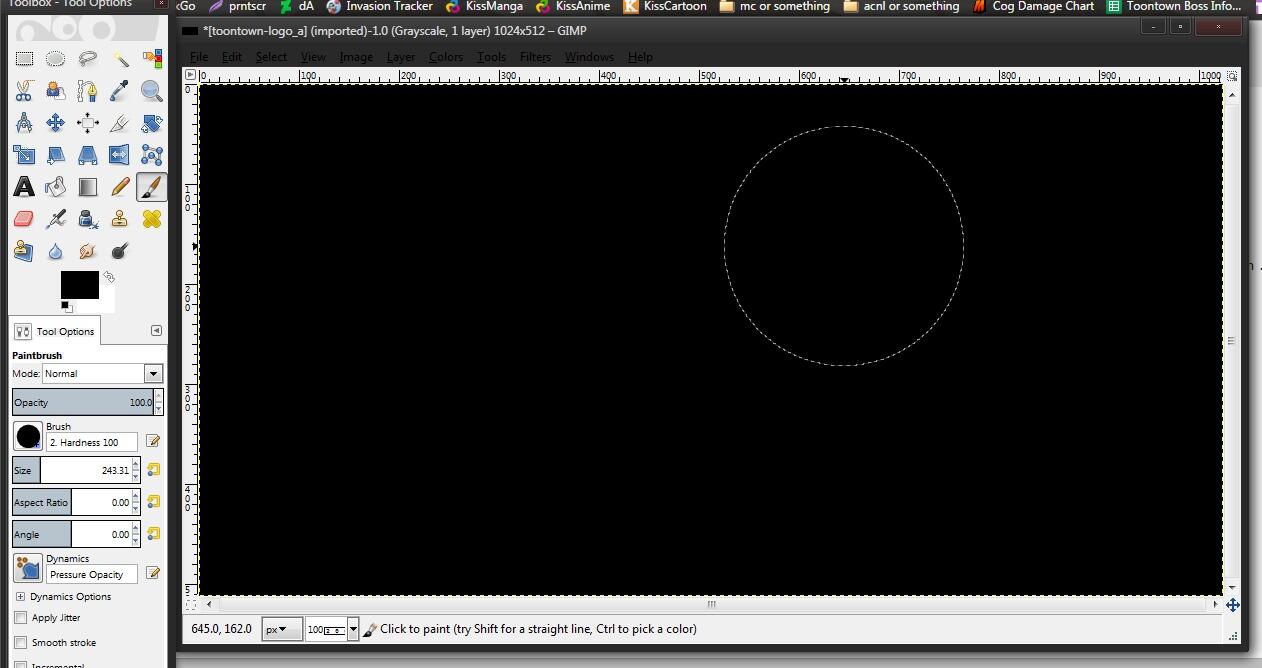
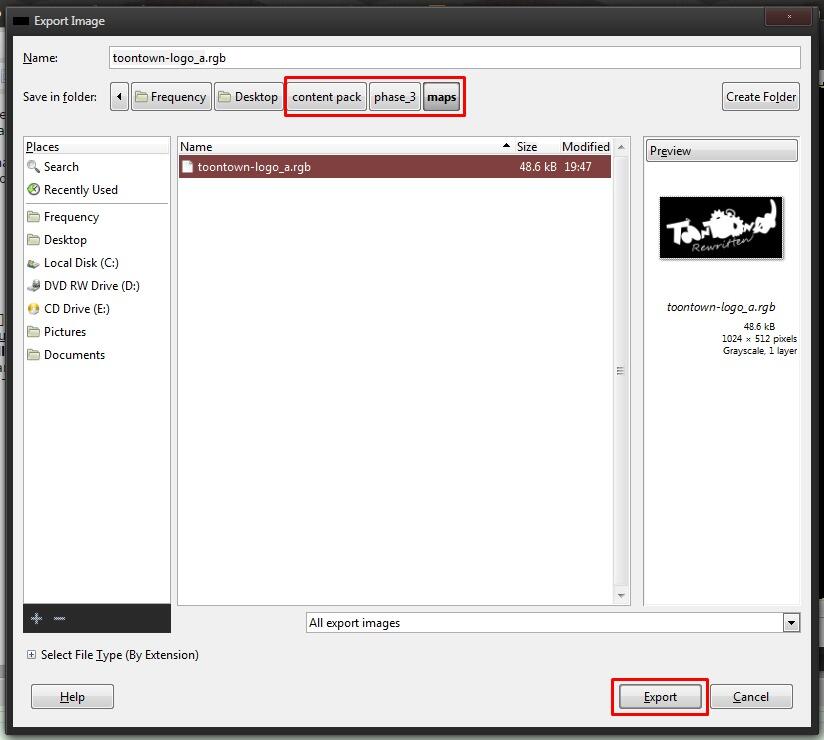
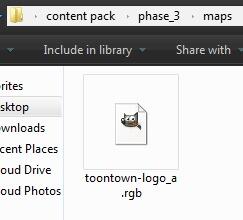
**Before I tell you though: if you want to remove the logo, copy the toontown-logo_a.rgb file to the empty phase_3 folder in the main folder.
I know that many people who want to create a content pack want to remove the logo. Simply all you do is open the .rgb file in GIMP (or any other program that works with .rgb files) and use the Paintbrush Tool, use the color black, and whipe out anything that's white and Export As → Overwrite.
Converting...
Copying the other image is unnecessary. If you just want to completely remove something, this is all you have to do every time (only works for images that also contain a .rgb file).
Editing
As for an .rgb file you want to edit, I'm going to use one I've already made for one of my content packs.
I'm going to use gamegui_palette_4alla_1.jgb and gamegui_palette_4alla_1_a.rgb from phase_3.5.
Open it up in paint.net (or whatever you use), and the first thing I tend to do is resize for better quality. I typically resize it to 1400x1400 or 1400x1200 (whichever floats your boat). I would try to maintain the aspect ratio.
Next thing I do is erase anything unnecessary or unused in the game, such as the 3 buttons in the top right corner... and by erase, I mean color it black.
Don't erase the colored triangle things because that belongs to your laff meter.Tip:
.rgb files use white to show your image while black is invisible.
If you put it between black and white (grey), it makes the image transparent.I use the original image as a guide to what I want to make next so I know what I'm putting where.
Once I'm done creating what I want, I save the image as a .pdn incase I want to go back to it later in the pdn;png (a .pdn file saves it in layers and everything).
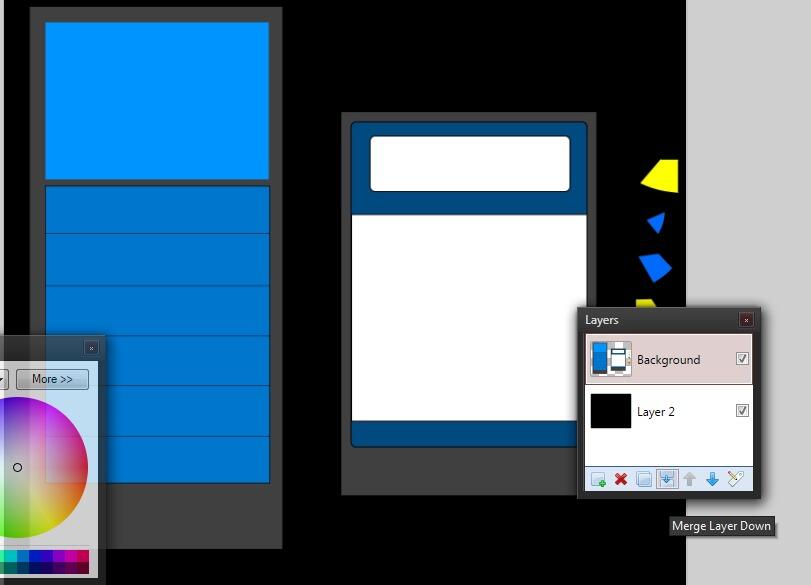
After that, I remove the white layer and the original image layer and then make a new layer underneath what I made and make it black.
Once I merge the layers, I Save As... .jpg in the pdn;png folder.
After that, I undo so that they're in layers again and then use Hue / Saturation to make what I made completely white.
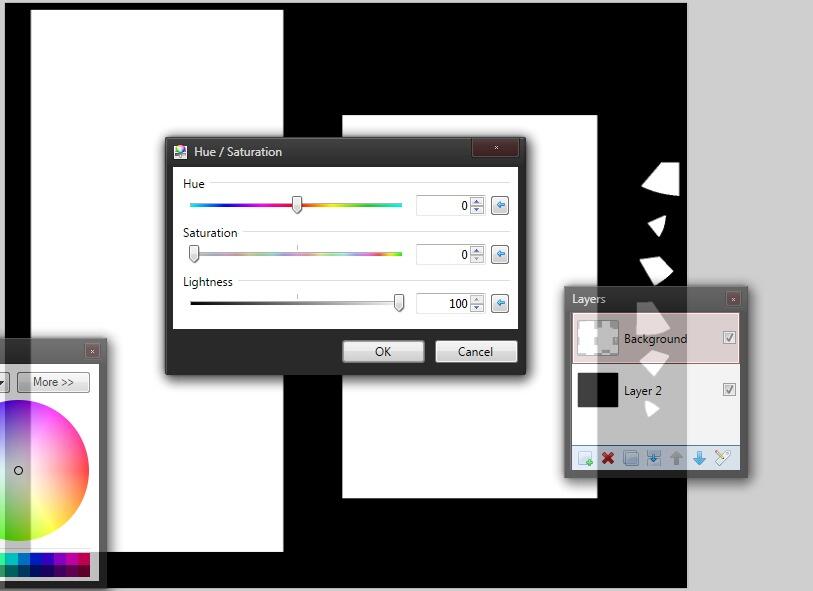
Then, I merge the layers and Save As... png in the pdn;png folder.
I bring up the png version of the image I created in GIMP and simply Export As... rbg in the pdn;png folder.
Then copy both the .jpg version and the .rgb version to the empty phase_3.5 folder.NOTE:
Whatever image you edit, make sure it goes in the correct phase folder otherwise it won't work. Same with making sure it's the correct file type. If it's .png instead of .jpg, it won't work.
Same with the file name as well. It has to be exactly everything it was, otherwise it won't work.
Finishing Up
Once you're done, compress your phase folder and try it out.
In this guide, since we worked in phase_3 (for the logo) and phase_3.5 (for the GUI), we can just compress those phase folders instead of all of them.
contentpackname is whatever you want it to be.Then make a resources folder in the Toontown Rewritten folder and place your .mf file / content pack in there to test it out.RESULT


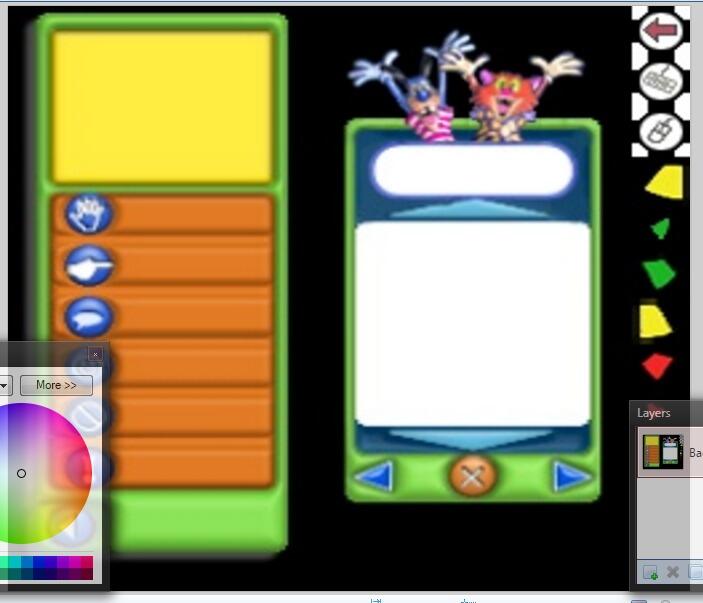
PS: I didn't show editing the buttons, but this is a result partly of what I showed you in this guide.
Audio
As for audio files, you take whatever song you want to use, bring it up in Sony Vegas Pro 13, File → Render As... ogg and save it either in a place you'll remember (then place it in the phase folder it belongs in) or directly in the phase folder it belong in. Of course this is for those that have Sony Vegas Pro 13.
You can try other methods for anything mentioned here, but I think that's pretty much it.
Music Locations
GENERAL
create_a_toon.ogg | Create-A-Toon |phase\_3
ttr_theme.ogg | Toontown Rewritten Theme |phase\_3
ttr_theme_spooky.ogg | Toontown Rewritten Spooky Theme |phase\_3
ttr_theme_winter.ogg | Toontown Rewritten Winter Theme |phase\_3
encntr_general_bg.ogg | Cog Battles |phase\_3.5TOONTOWN CENTRAL
TC_nbrhood.ogg | Toontown Central Playground |phase\_4
TC_SZ.ogg | Toontown Central Streets |phase\_3.5
TC_SZ_activity.ogg | Toontown Central Shops |phase\_3.5DONALD'S DOCK
DD_nbrhood.ogg | Donald's Dock Playground |phase\_6
DD_SZ.ogg | Donald's Dock Streets |phase\_6
DD_SZ_activity.ogg | Donald's Dock Shops |phase\_6DAISY GARDENS
DG_nbrhood.ogg | Daisy Gardens Playground |phase\_8
DG_SZ.ogg | Daisy Gardens Streets |phase\_8
DG_SZ_activity.ogg | Daisy Gardens Streets |phase\_8MINNIE'S MELODYLAND
MM_nbrhood.ogg | Minnie's Melodyland Playground |phase\_6
MM_SZ.ogg | Minnie's Melodyland Streets |phase\_6
MM_SZ_activity.ogg | Minnie's Melodyland Shops |phase\_6THE BRRRGH
TB_nbrhood.ogg | The Brrrgh Playground |phase\_8
TB_SZ.ogg | The Brrrgh Streets |phase\_8
TB_SZ_activity.ogg | The Brrrgh Shops |phase\_8DONALD'S DREAMLAND
DL_nbrhood.ogg | Donald's Dreamland Playground |phase\_8
DL_SZ.ogg | Donald's Dreamland Streets |phase\_8
DL_SZ_activity.ogg | Donald's Dreamland Shops |phase\_8ACORN ACRES & GOLF
OZ_SZ.ogg | Chip 'n Dale's Acorn Acres Playground |phase\_6
GZ_SZ.ogg | Chip 'n Dale's Golfing Area |phase\_6
GZ_PlayGolf.ogg | Golfing |phase\_6GOOFY'S SPEEDWAY
GS_SZ.ogg | Goofy Speedway Playground |phase\_6
GS_KartShop.ogg | Goofy Speedway Shop |phase\_6
GS_Race_CC | Goofy Speedway CC Race |phase\_6
GS_Race_RR | Goofy Speedway RR Race |phase\_6
GS_Race_SS | Goofy Speedway SS Race |phase\_6COG HQs
encntr_suit_HQ_nbrhood.ogg | Sellbot & Cashbot HQ |phase\_9
CHQ_FACT_bg.ogg | Factories, Mints, & DA Offices |phase\_9
encntr_suit_winning.ogg | Cog HQ Battles |phase_9
encntr_toon_winning.ogg | Boss Repositioning |phase\_9
encntr_hall_of_fame.ogg | Winning/Won |phase\_9
CogHQ_finale.ogg | ??? |phase\_9
encntr_head_suit_theme.ogg | ??? |phase\_9
encntr_sting_announce.ogg | ??? |phase\_9LAWBOT HQ
LB_courtyard.ogg | Lawbot HQ |phase\_11
LB_juryBG.ogg | CJ Cannon Round |phase\_11BOSSBOT HQ
Bossbot_Entry_v1.ogg | Bossbot HQ #1 |phase\_12
Bossbot_Entry_v2.ogg | Bossbot HQ #2 |phase\_12
Bossbot_Entry_v3.ogg | Bossbot HQ #3 |phase\_12
Bossbot_Factory_v1.ogg | Bossbot HQ CGC #1 |phase\_12
Bossbot_Factory_v2.ogg | Bossbot HQ CGC #2 |phase\_12
Bossbot_Factory_v3.ogg | Bossbot HQ CGC #3 |phase\_12
BossBot_CEO_v1.ogg | Bossbot HQ CEO #1 |phase\_12
BossBot_CEO_v2.ogg | Bossbot HQ CEO #2 |phase\_12COG BUILDINGS
encntr_general_bg_indoor.ogg | Cog Building Battles |phase\_7
encntr_toon_winning_indoor.ogg | Entering Elevator |phase\_7
tt_elevator.ogg | Elevator |phase\_7
encntr_suit_winning_indoor.ogg | Top Floor |phase\_7TROLLEY
MG_Travel.ogg | Trolley Tracks |phase\_4
FF_safezone.ogg | Buying Gags |phase\_4
m_match_bg1.ogg | Match Minnie #1 |phase\_4
m_match_bg2.ogg | Match Minnie #2 |phase\_4
MG_cannon_game.ogg | Cannon Game |phase\_4
MG_CogThief.ogg | Cog Thief |phase\_4
MG_Diving.ogg | Treasure Dive |phase\_4
MG_IceGame.ogg | Ice Slide |phase\_4
MG_Pairing.ogg | Toon Memory |phase\_4
MG_Target.ogg | Slingshot |phase\_4
MG_toontag.ogg | Toon Tag |phase\_4
MG_tug_o_war.ogg | Tug-o-War |phase\_4
MG_TwoDGame.ogg | Toon Escape |phase\_4
MG_Vine.ogg | Jungle Vines |phase\_4
minigame_race.ogg | Race Game |phase\_4FIREWORKS
firework_music.ogg | Fireworks |phase\_4
new_years_fireworks_music.ogg | New Year's Fireworks |phase\_4
tt_summer.ogg | Summer Fireworks |phase\_4TOONFEST
TF_SZ_1.ogg | ToonFest Playground |phase\_6
TF_FW_finale.ogg | ToonFest Fireworks |phase\_6PARTIES
tt_party1.ogg | Parties Song #1 |phase\_4
tt_party2.ogg | Parties Song #2 |phase\_4